Water Temperature Experiments for Coffee (1):

Water Temperature Experiments

Water cools from boiling, we all know this – but just how quickly?

It’s a question that puzzled me, and I could find no quick answer on my google searches that met my needs – so what better than to go back into a science lab and do some real-life experiments!
Well, a kitchen. And a set of semi-controlled slightly made up conditions as I went along and made my observations. I’m sure a real scientist would be able to tear my kitchen table methods to shreds. But I thought doing these would at least point me in the right direction.

One of the first things I learned about coffee was “don’t pour boiling water onto the coffee” and as I have come to learn more I’ve repeatedly heard temperature being held up as one of the great variables affecting the coffee.

In geeky mode then, thermometer at the ready every time you make coffee and all is well I suppose?? But what if a coffee needs to be made quickly, or you just don’t have a thermometer to hand?? – is there a rule of thumb for how long you let the water rest after the kettle has boiled?

So my experiments began.

I might add that the first thing I found on the internet after I completed my experiments was a paper on how quickly water cools after boiling – but as I’d gone to the effort, I will document my findings here anyway!

I started by getting a jam thermometer (borrowed from my mother-in-law) as – fairly obvious I know – a regular one would not cope with the high temperatures I needed to record. And as with most things, although the idea of such an experiment had been rumbling around my brain for some time, the decision to actually progress with this had a fairly random timing. So rather than not do it, best get hold of what would be available.

The first set of observations I made was also using what else was easily available, a plastic jug. Probably not the material I would have chosen if I had actually thought properly about it!
I took observations every 15 or 30 seconds – in part depending what else was going on in the kitchen (but never leaving a gap of more than 30 seconds on these).

During the first time I decided that 10 minutes was about the right duration to keep going (a mix of what temperature had been reached and how long it would take to do all this: I realised early on that I would have to repeat the experiment so that I knew whether it was just a fluke).

My random nature in proceeding with these experiments meant that I hadn’t created a lovely observations table to record my readings – but was just scribbling the findings on some cut-offs of paper.

I also realised that the nature of the thermometer that I was using meant that depending on the angle of my head to the instrument I could come up with 1 of 3 readings whether my head was above, straight-on, or below the mercury (actually a coloured liquid: don’t know what they actually put in thermometers!). I think that’s most of my confessions out of the way on this exercise!

So a little haphazard, but off I ventured with this activity – trying to ensure I was learning quickly so as not to invalidate my experiments too much!!

At first I was a little puzzled that I couldn’t get a reading of 100 degrees Celsius from the water in the jug, no matter how quickly I poured and measured. I attributed this initially to the fact that the mercury (not really mercury, but we don’t know what it is) took time to get to the temperature – but later realised that the act of pouring the water would be cooling it down too. Another realisation (again obvious, but best to think about it at some point: was that the ambient temperature could affect the rate of cooling – I was doing my experiments in a room temperature environment (somewhere close to 20 degrees Celsius).

I did organise myself a little better as I went along. and transferred my readings to an excel spreadsheet before I had taken too many. So as not to get confused, to have a proper saved record, and to be able to perform some calculations on them and chart them.

So by the end of the experiments some sense of order had been enforced.

Headlines were: that the water was at c 95 degrees Celcius within the first 15 seconds, that it had dropped to under 90 degrees by around a minute, and 85 degrees by between 2 minutes 15 to 2minutes 30. And that the rate of cooling was quickest at first, and then slowed.

The average of 4 observations is charted in the attached diagram (observed temperature – in degrees Celsius – on the vertical, and time since boiling – in mins:secs – on the horizontal).

I repeated the observations about 3 times- and was surprised at how consistent my results were (to say it wasn’t exactly lab conditions, that my eye level could have thrown it, and that the starting temperature of the vessel would have been different between the first time and subsequent times – when it would have been warmer)

Thinking about what might have affected things did lead me to conduct some slightly modified versions to explore different situations too. But I was pleased with my initial findings – charted below.

Temperature vs Time
The Time Taken for boiling water poured into a jug to cool.

More to come……

please note: boiling and hot water can be dangerous if not handled with care!
(despite the haphazardness of some of my approaches above, I did take some care and would suggest anyone else does the same: and children should be accompanied by an adult)
Gradually Piecing Coffee Learning Together…..

Coffee Making with Artistry

Through accident, experiment, and impediment it’s possible to gradually realise that there are better ways to make better coffee.

Realising not to pour on absolutely boiling water, realising that there are a wide variety of coffees available, realising that there are ways to become more consistent or methodical in your approach to coffee making, and that there is a choice of many ways of making coffee.

Piecing all this together brings an awareness that coffee making can be a bit of an art that you can enjoy for itself aswell as for the caffeine kick!

In fact each part can be made into a bit of an art. There’s the choosing of the coffee to buy, the decision about which way (brew method) to make your coffee, the process itself including the grinding of the beans, the pouring of the water, the timing of the process, and the method of delivery (which can be experimented with and varied to produce discernible, and perhaps sometimes not so discernible results), and of course the sitting down and savouring the result.

Basically you can take your coffee making as seriously as you want. If you know what you like and you know how to make it and don’t want to think any further than that, then fair enough. But if you want to you can explore the coffee and the coffee making process and even turn it into a new hobby! You can explore different tastes and simply enjoy learning the various processes that can be applied to the coffee to vary the flavour.

At Artistry Coffee we became fascinated by the old and new techniques that there are to create hand-brewed coffee: and have enjoyed exploring and collecting together some great products to make coffee with.

My main basic learning came about in the last decade through blundering around with various cafetieres and a simple one-cup drip filter maker. Gradually coming to some of the realisations above.

In the last couple of years I have:
– discovered the art of the pour-over method and greatly enjoyed taking time over the process of pouring and making the coffee
– discovered hand grinding, and explored various grind settings that affect the interaction of the water and the coffee grounds.
– and discovered that there really is so much to explore about coffee making. We have favoured exploring hand brewing options rather than anything with machines: as for us it feels closer to the coffee.
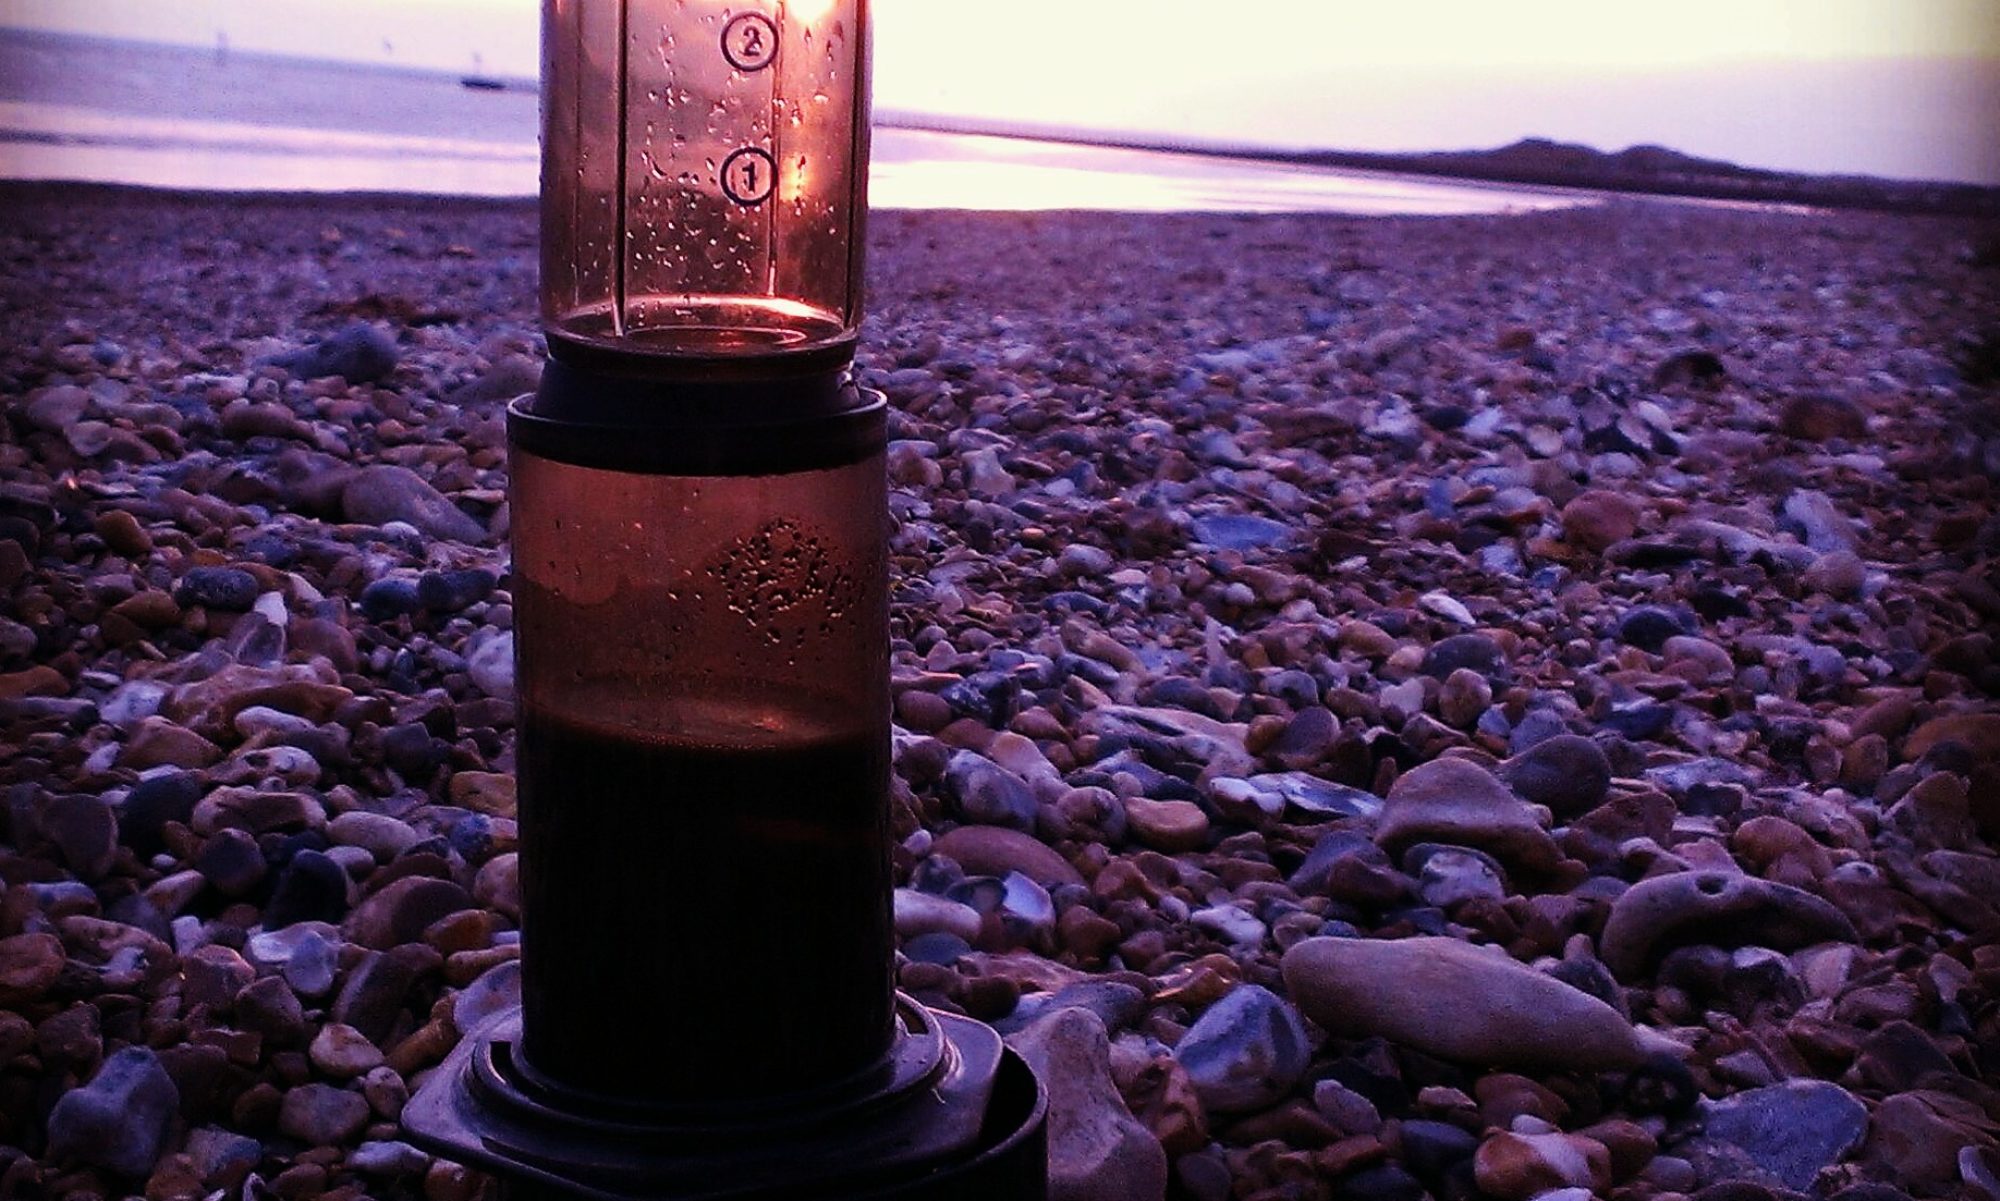
Experiencing the AeroPress coffee maker as a way to quickly make a cup of coffee that packs a punch was great, and it still remains a favourite.
As well as the ease and simplicity, and yes cleverness, of the Clever Dripper which has an innovative valve shut-off system to help serve the coffee.

I don’t think you ever end the learning about coffee beans and the growing methods though.

Enjoy making coffee, whether in straightforward ‘just get me the caffeine’ mode, or in ‘fascinated, artistic, exploration’ mode.

One scoop or two…..

A scoop to measure coffee

Of course soon enough in time on the coffee journey you come across a cafetiere to make coffee with (or French Press as some like to call it). This is a simple yet clever device, with the mesh disc to push the ground coffee down in the coffee maker and keep them (mainly) separate from the coffee that will be drunk.

There are lots of things that can be said about making coffee this way – and I’m sure we’ll come to them one day – but the biggest thing that puzzled me was how much coffee to use. And it’s not like I did the sensible thing and work it out then remember it: so every time I make coffee this way was like starting afresh.

It actually gets complicated by the fact that making coffee in different homes, with different coffees, and different size cafetieres means that even if you get the amount of coffee right one time, the next coffee you make with a different blend may need a different amount. And what about the 1 cup vs the 4 cup, 6 cup, 8 cup vessels?

How can anyone ever get it right?

And how do you judge the right amount of water each time?

In fact here we are at the heart of the brew recipe: a phrase which at first (for coffee) seems bizarre, yet is increasingly used by coffee fans to record how they made their latest coffee.

In simple terms something like – 2 scoops of ground coffee to one mug of water. [In reality a brew recipe will potentially record all sorts of things, but that’s for another time].

At its simplest remembering the proportion of water and ground coffee that you use is a first key step to getting a consistent approach to coffee making. And a first simple brew recipe.

A lot of it is about proportions – so you can then double the numbers for 2 mugs, quadruple for 4 etc. Maybe a bit more complex than that, but not far off.

If you use the same type of coffee all the time, you will no doubt hit on proportions of coffee and water that you prefer: and it is worth experimenting with this as it can affect the enjoyment you get from your mug. Also try with different lengths of time after the kettle has boiled, as the temperature of the water can be an important factor. And different timing before you push the plunger down.
Write down what makes the best cup for you, along with the blend of coffee that you made it with.

Once you start weighing the coffee for more precision you know you’re taking it seriously !

So learning the cafetiere is not quite as complex as learning a musical instrument, but maybe a bit similar – you can pick it up and get some coffee out of it: but if you play it well, the notes the coffee delivers will change and become more melodic perhaps. And just like music, I’ve hinted that timing is important too: but that’s also for another time!