There’s only One AeroPress – or is there?

The AeroPress Range at Artistry Coffee

The AeroPress range has expanded – the classic AeroPress was joined some time ago by the AeroPress Go, and now by the AeroPress Clear.

The AeroPress Clear is made from a tougher new material – Tritan. It’s crystal clear and shatterproof, very durable and lightweight. It’s the same proven design that produces consistently reliable and great tasting coffee. The clear look is amazing and is great for demonstrating what’s going on as you make coffee with the AeroPress Clear.

The AeroPress Go is a modified design an a slightly shorter coffee making chamber to make it more transportable. The stirrer paddle was reimagined so that it can fold over on itself and fit inside the tube, for easy transport. The scoop is a different shape and size, again so that it can fit inside the tube for portability. The AeroPress Go device itself has the numbers 1, 2, and 3 on it – missing the 4, so giving a clue as to how much shorter it is.

The AeroPress Go comes with a mug to make the coffee into, and a red silicone lid which can also be used as a stand to place your mug on for increased stability. This is after all a device that’s designed for use out and about!

The classic AeroPress Original has been repackaged into a more compact box with changed accessories. The iconic coffee maker now comes with a stirrer paddle, a c15g coffee scoop, and 100 paper filters (so there’s no longer the funnel or the paper filter holder, only the things you really need to make coffee. So fewer plastic items).

So the AeroPress range is developing and you can find out more about all these AeroPress designs and buy them in our online store, along with replacement filters, a travel cap, or metal filters which fit the device.

There’s even a brilliant AeroPress inspired T-shirt for you!

Find an AeroPress Inspired T-shirt at artistrycoffee.co.uk

What is the AeroPress Inverted Method?

AeroPress Inverted Method

The AeroPress coffee maker was conceived by the inventor of the Arobie Flying Ring, Alan Alder, as a reliable way to produce coffee – including out in the open.


You simply needed some coffee grounds, hot water in a flask, and your AeroPress.
The result was great, and consistently reliable. Clean and easy to use, and very portable. Not quite an espresso, but something very close.


As the AeroPress was marketed people really took to it, appreciated its cost-effectiveness and the quality of the coffee it produced. It became popular on location, at home, and at work. Then people began to experiment.


The Inverted Method was born, and the ‘quick & easy’ original method of using the AeroPress was joined by a ‘take your time and brew’ method.


The Inverted Method takes the principles of immersion and steeping with coarser ground coffee to result in different flavour profiles. The room for experimentation with different ‘recipies’ was extended (i.e. using varying amounts of coffee grounds, & water, and changing up the timing to see what different flavours could result).
This is possible by turning the AeroPress on its head, literally! Inverting it!!


The first thing to do for the Inverted Method is to connect the two chambers (so it’s connected as if you were about to push down on the second one).
Make sure they are firmly connected with a good overlap of the cylinders, then flip them over (invert them). They should now be standing on what is normally the top part of the AeroPress.


You haven’t yet put the filter and mesh cap on – don’t, for the moment.
You should now have the tube standing up, into which you can pour the coffee grounds (coarser perhaps, and starting with c11g before you experiment with your quantities).
Please check safety and stability for the next stage, and only progress if you are confident that you will not spill the hot water, that the tubes will not topple, that they are connected well and will not leak, and that you will not be scalded by the hot water.


So, ensuring stability and safety, pour your desired amount of hot (not boiling) water into the tube with the coffee (probably c 100 to 200ml. It depends on how far into the first chamber the second tube is pushed up to).


Then stir really well, remembering that agitation of the coffee grounds with the water is a key part of coffee making.


Now you can leave the coffee steeping, immersed in the water. Perhaps leave for 2 minutes the first time, but this is something to be experimented with along with the coffee and water proportions.


The next part is a little tricky, but best achieved by slightly damping one of the paper filters so it sort of sticks.
Place the dampened filter into the mesh cap. Then screw the mesh cap firmly into the AeroPress.


With your mug in place, quickly and with care, flip the AeroPress over so it’s in a normal position above the mug.


Now breathe.


You’re ready for the normal AeroPress push. Steadily and slowly push down on the AeroPress so that the coffee pours into the mug below, and leaves you with the puck of coffee grounds in the device.


Unscrew the cap, expel the puck of coffee grounds by placing over a bin and pushing the last couple of centimetres. Rinse and wipe the AeroPress and enjoy your coffee made the Inverted way!


You can now add hot water if you prefer a weaker coffee, or milk of your choice if that’s your preference.


The AeroPress is a great device to experiment with. And whether you’re using it the way it was originally designed, or the Inverted Method, you can experiment with grind variations, coffee and water proportions, and timings to hit on a recipe and method that suits your tastes.


Maybe you’ll decide one day to enter an AeroPress Championship – yes, there really are such things!


You can see our store pages if you’ve not yet got an AeroPress, if you need new filters, or if you’d like to try a metal filter.

Making coffee with the AeroPress

AeroPress from above with coffee grounds inside

The AeroPress is a great coffee maker and it was designed to make coffee a particular way – but as people have experimented with it there has been a wider range of ways to use the AeroPress. People now vary the time that they let the coffee stand, the grind of coffee that they use, the mix of coffee and water in the AeroPress chamber and whether to use it straight up as it was designed, or to flip it over and make coffee the Inverted way in the AeroPress!

This post is going to focus on the quick and easy way of making coffee that was the original idea – we will follow up on posts with other methods, but not in this one!

The AeroPress was designed for you to be able to make coffee ‘quick and easy’ in literally about 30 seconds once the water is ready.

Simply placing the paper filter in the mesh filter holder and screwing it onto the bottom chamber of the AeroPress is the main preparation. Oh, and placing the bottom chamber over your coffee mug too!

AeroPress was designed to make espresso style coffee – and so placing an AeroPress scoop of coffee grounds (fine ground, but not powdery) puts about 15g of coffee into the device – you can weigh and measure if you’re at home, but if out and about the scoop is a pretty good approximation.

Then simply pour in water (at about 85 degrees celsius) to the number 2 level indicator (as this is a double shot measure).

Next step is to stir for 10 seconds – this mixes the coffee grounds with the water, and ensures that the water is extracting the coffee from the grinds.

Straight away you can put the upper chamber into the lower tube and gently press down for 20 seconds till the plunger gets to the bottom. You may be too keen in your pressure, and this is likely to impede your progress as the device somehow seems to fight against you – a slow, gentle, consistent press seems to give the most effective progress.

That’s it!

Your coffee is now in the cup – in an espresso style measure. You can add water to make an Americano, foamed milk to make a Cappuccino, or use other methods to prepare your drink the way you want it.

The AeroPress is super simple to use and really does produce consistently good results. There are other methods of using the device and we’ll come back to those, but mastering the device for the method it was designed is an essential starting point in our eyes.

Find out more about the AeroPress here.

The New Twist Press from Barista & Co

Twist Press

This innovative new coffee maker – The Twist Press – is a great product for coffee on the go – it is compact, easy to use, and includes a coffee storage section under the silicone lid.

Twist Press Parts
Twist Press Parts

To use, you place the lower handle on top of a mug add a paper filter, attach the coffee making chamber – then water and coffee grounds and stir. Position the upper plunger handle and allow to brew for a minute.

Then TWIST !

Pull the handles together and let the coffee come through under pressure to the mug below. You should find a clean, strong, black coffee which you can enjoy espresso style or as a base for any coffee.

The device is easy to clean and (top shelf) dishwasher safe.

See the Twist Press online at artistrycoffee.co.uk or at our Duck Farm Court location in Aylesbury, Buckinghamshire.

Twist Press
Twist Press Stacked


Supercharge your AeroPress with the Fellow Prismo

The Fellow Prismo AeroPress attachment

The AeroPress is a well renowned coffee maker which makes reliable good coffee very quickly. As we say it’s #QuickButNotInstant reflecting the fact that it’s far ahead of instant coffee yet doesn’t take much longer to make.

AeroPress
AeroPress coffee maker

The AeroPress is described as making espresso like coffee – recognising that it’s really good but not a pure espresso.

This new attachment device from Fellow products though can supercharge your exisiting or new AeroPress delivering more specific espresso shots.

The Fellow Prismo – attaches to the bottom of the AeroPress instead of the mesh cap. It features a pressure actuated valve which is the main bit of magic! It stays sealed until you press down – this helps facilitate the espresso shot, but also gives you other options for making cold brew or brewing with the immersion method without inverting.

The Fellow Prismo comes with a reusable fine metal filter and has a no drip seal too – giving you more control over generating an espresso shot (or the immersion method).

Press down and the coffee is forced under pressure through the central valve.

We stock genuine Fellow Prismo but do watch out for cheap imitations available by some online retail options – if you don’t see the Fellow logo (the O and bow tie mark underneath) on the product photos, it’s probably not genuine. Also the central valve and surrounding mouldings look a little different.

The genuine Fellow Prismo is available at Artistry Coffee in Duck Farm Court, Aylesbury or online.

Which way would be your preferred way to use the amazing AeroPress coffee maker?

AeroPress coffee maker Series 5

The AeroPress is a brilliant coffee maker which can produce consistently good results, with a couple of different options for how you use it.

The classic method is the quickest which is simply..

coffee – water – stir – press.

The AeroPress packaging still says stir for 10 seconds and push for 20 seconds – it really can be that easy to make great coffee. You can watch a video of Artistry’s Sarah demonstrating this method.

Then there’s the inverted method which is a little slower and more intricate, but the favoured method of baristas worldwide.

This involves pouring the ground coffee and the water into an inverted AeroPress, stirring and then letting the coffee brew for a few minutes.

Then adding the filter and mesh cap and quickly turning over to press the coffee through into a mug below.

This allows for lots of experimentation with different grinds on the coffee and different brew timings.

So you can decide if you want a quick well-made coffee that beats instant coffee hands down – or to take more time over the coffee and the experimentation to perfect your own brew technique!

There’s now a Series 5 version of the AeroPress, which has shiny gold lettering and a cloudy brown look to it.

Colours and materials used have changed over the years as the design has been adjusted from the original clear with blue guide marks.

The AeroPress :: One of our favourites for great coffee!!

AeroPress Series 5

One of our favourite products is the AeroPress that helped start our journey into handbrew coffee equipment and techniques.

It’s a straightforward easy to use product that creates great tasting coffee.

The AeroPress is possibly the simplest, most consistent, easy, and cost-effective way to make espresso-based drinks at home… without crazily expensive equipment!

The AeroPress is an amazing coffee maker – if you’re used to instant coffee the AeroPress will be an eye opener, as it barely takes more time than making instant coffee, yet tastes many, many, many times better!

The AeroPress is essentially two plastic tubes that fit together – one that you put the coffee and water into, and one that you use to push the water under pressure through the coffee. So the AeroPress creates the ability to get close to an espresso coffee with a simple, easy to use, portable, coffee-maker which is almost self-cleaning too.

(Of course espresso is used as the base for most coffee-shop coffees – so the AeroPress can also be a gateway to americanos – by adding more hot water, lattes or cappuccinos -by adding frothed milk (see our Cappuccino Kit including an AeroPress and a milk frother), and more…. )

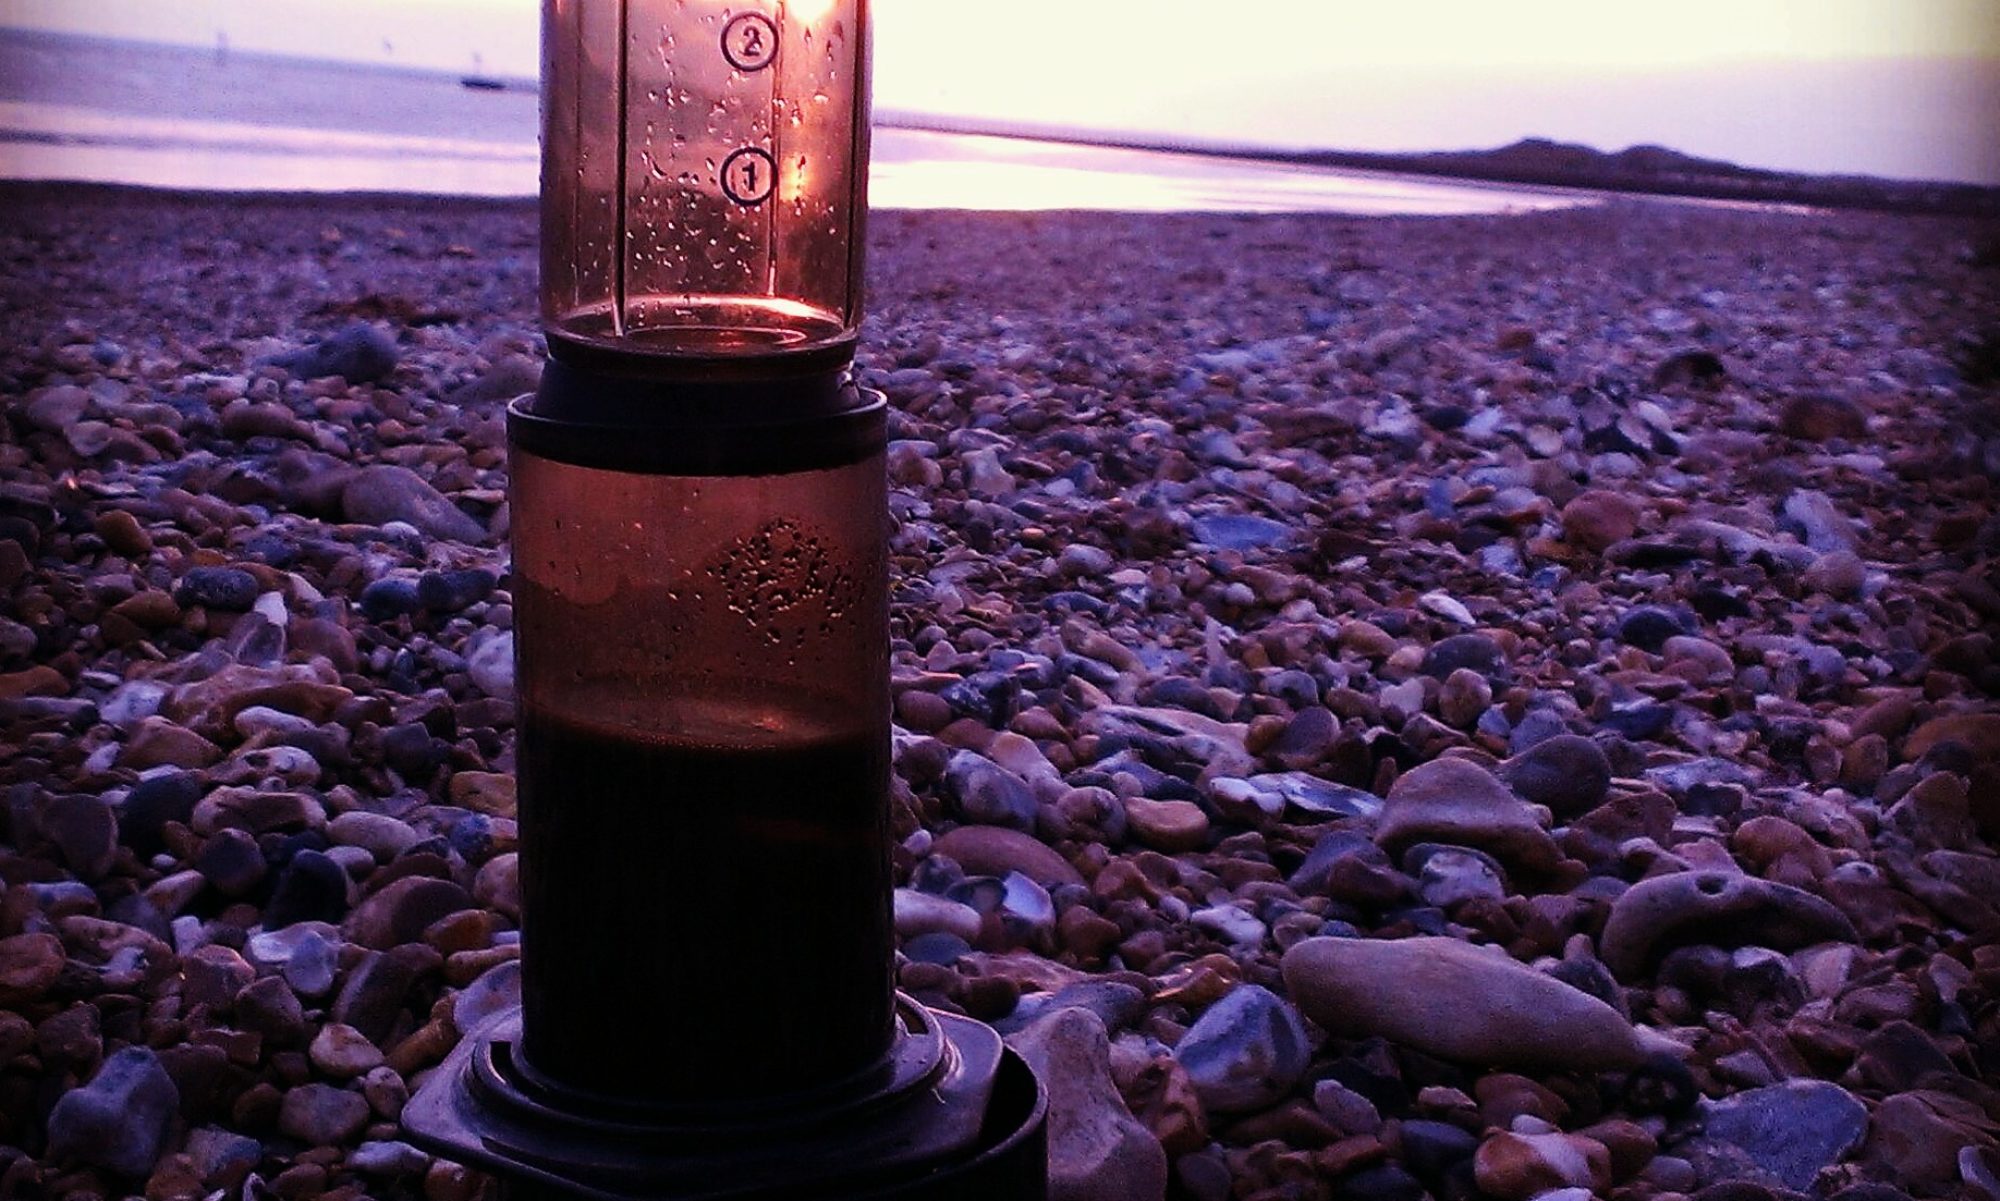
The AeroPress is a great coffee maker and can fit with a very outdoors based life, as it’s so portable. It can be used on holiday, at the beach, on picnics, at work, as well as in the kitchen or at home.

There are increasingly opportunities to have your coffee shop coffee made with an AeroPress too. Many baristas do take this product really seriously – and World AeroPress Championships take place every year!

If you’d like to find out more about how the AeroPress was invented (by the guy who created the Frisbee!) then see here