What is the AeroPress Inverted Method?

AeroPress Inverted Method

The AeroPress coffee maker was conceived by the inventor of the Arobie Flying Ring, Alan Alder, as a reliable way to produce coffee – including out in the open.


You simply needed some coffee grounds, hot water in a flask, and your AeroPress.
The result was great, and consistently reliable. Clean and easy to use, and very portable. Not quite an espresso, but something very close.


As the AeroPress was marketed people really took to it, appreciated its cost-effectiveness and the quality of the coffee it produced. It became popular on location, at home, and at work. Then people began to experiment.


The Inverted Method was born, and the ‘quick & easy’ original method of using the AeroPress was joined by a ‘take your time and brew’ method.


The Inverted Method takes the principles of immersion and steeping with coarser ground coffee to result in different flavour profiles. The room for experimentation with different ‘recipies’ was extended (i.e. using varying amounts of coffee grounds, & water, and changing up the timing to see what different flavours could result).
This is possible by turning the AeroPress on its head, literally! Inverting it!!


The first thing to do for the Inverted Method is to connect the two chambers (so it’s connected as if you were about to push down on the second one).
Make sure they are firmly connected with a good overlap of the cylinders, then flip them over (invert them). They should now be standing on what is normally the top part of the AeroPress.


You haven’t yet put the filter and mesh cap on – don’t, for the moment.
You should now have the tube standing up, into which you can pour the coffee grounds (coarser perhaps, and starting with c11g before you experiment with your quantities).
Please check safety and stability for the next stage, and only progress if you are confident that you will not spill the hot water, that the tubes will not topple, that they are connected well and will not leak, and that you will not be scalded by the hot water.


So, ensuring stability and safety, pour your desired amount of hot (not boiling) water into the tube with the coffee (probably c 100 to 200ml. It depends on how far into the first chamber the second tube is pushed up to).


Then stir really well, remembering that agitation of the coffee grounds with the water is a key part of coffee making.


Now you can leave the coffee steeping, immersed in the water. Perhaps leave for 2 minutes the first time, but this is something to be experimented with along with the coffee and water proportions.


The next part is a little tricky, but best achieved by slightly damping one of the paper filters so it sort of sticks.
Place the dampened filter into the mesh cap. Then screw the mesh cap firmly into the AeroPress.


With your mug in place, quickly and with care, flip the AeroPress over so it’s in a normal position above the mug.


Now breathe.


You’re ready for the normal AeroPress push. Steadily and slowly push down on the AeroPress so that the coffee pours into the mug below, and leaves you with the puck of coffee grounds in the device.


Unscrew the cap, expel the puck of coffee grounds by placing over a bin and pushing the last couple of centimetres. Rinse and wipe the AeroPress and enjoy your coffee made the Inverted way!


You can now add hot water if you prefer a weaker coffee, or milk of your choice if that’s your preference.


The AeroPress is a great device to experiment with. And whether you’re using it the way it was originally designed, or the Inverted Method, you can experiment with grind variations, coffee and water proportions, and timings to hit on a recipe and method that suits your tastes.


Maybe you’ll decide one day to enter an AeroPress Championship – yes, there really are such things!


You can see our store pages if you’ve not yet got an AeroPress, if you need new filters, or if you’d like to try a metal filter.
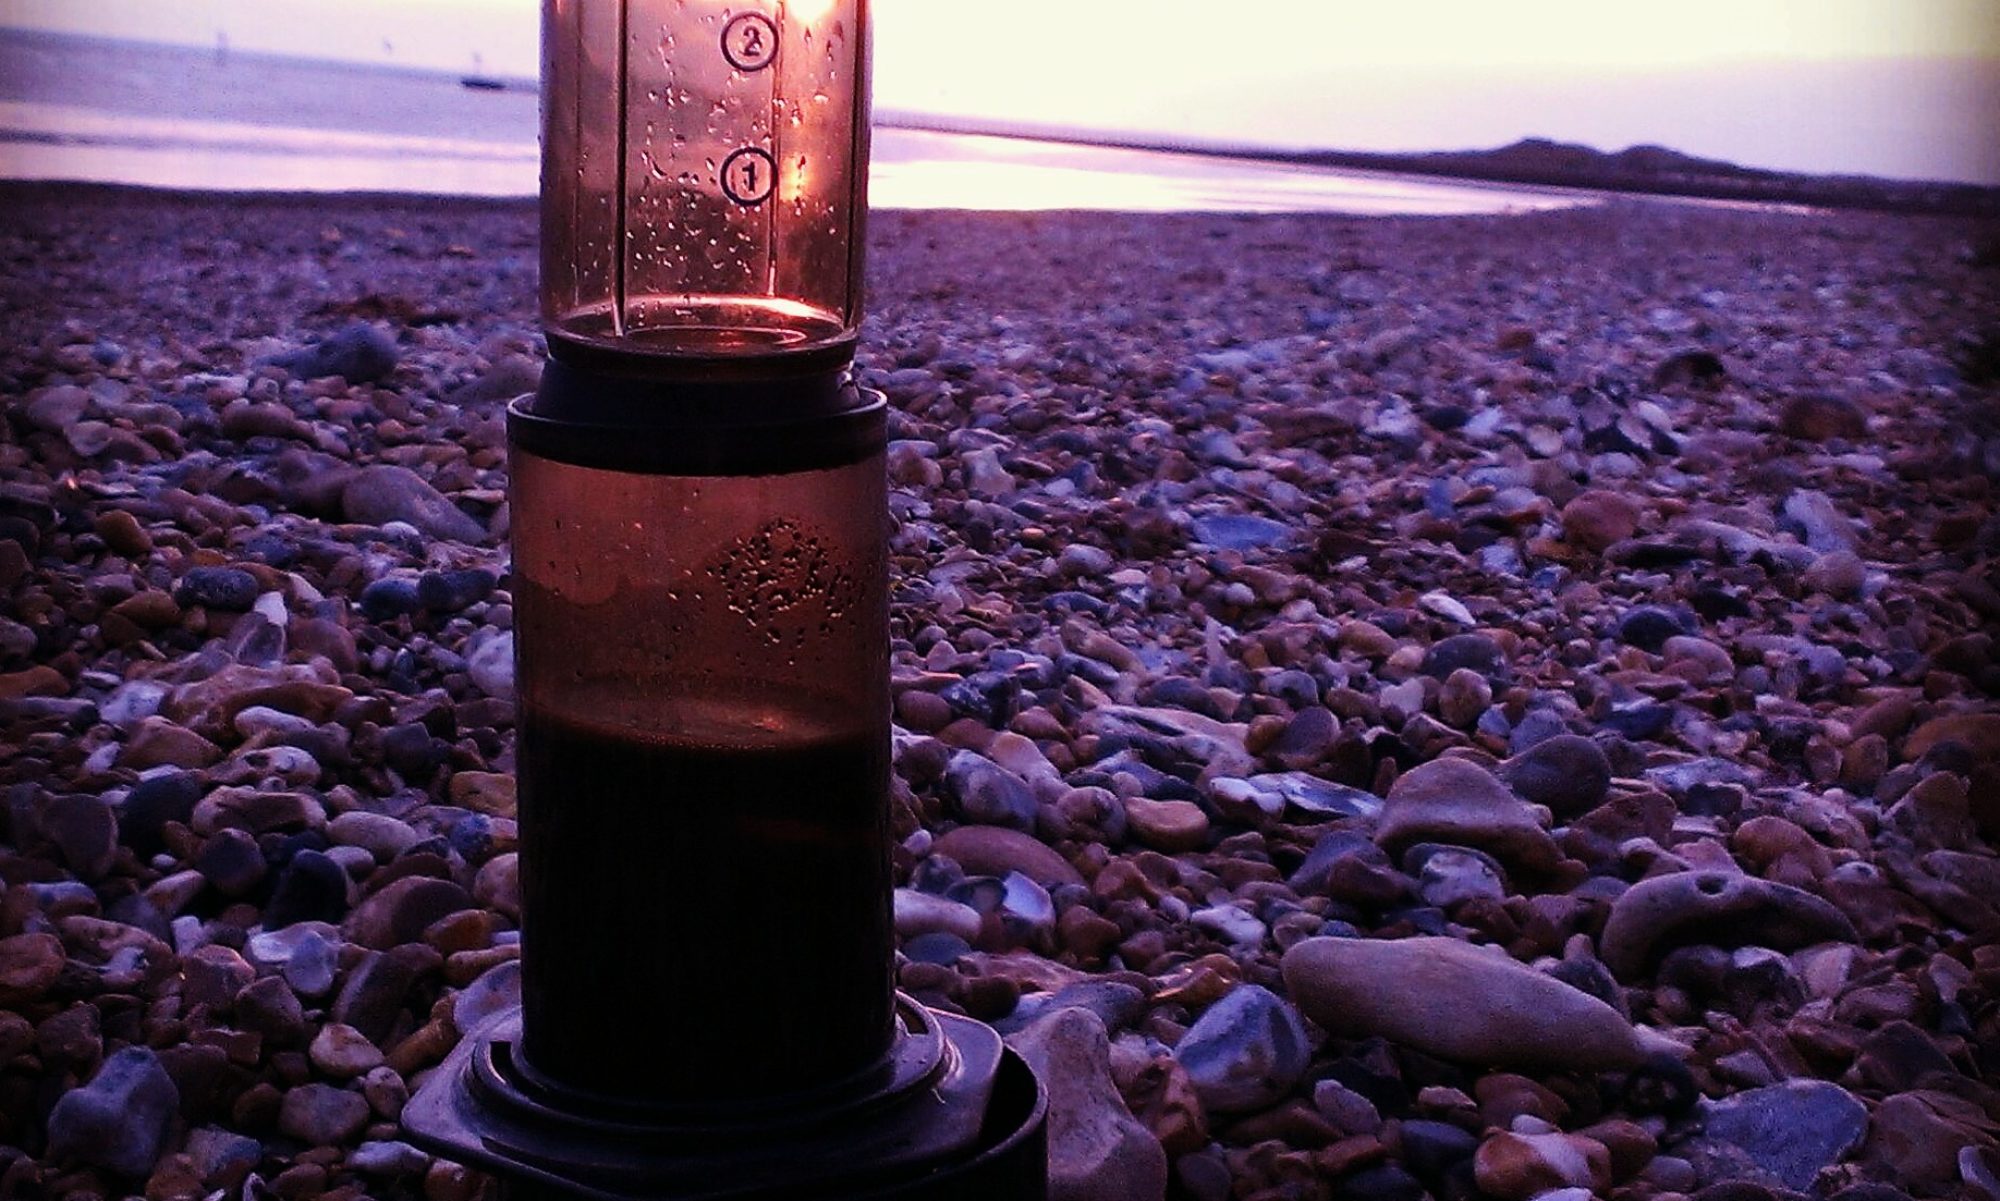
Making coffee with the AeroPress

AeroPress from above with coffee grounds inside

The AeroPress is a great coffee maker and it was designed to make coffee a particular way – but as people have experimented with it there has been a wider range of ways to use the AeroPress. People now vary the time that they let the coffee stand, the grind of coffee that they use, the mix of coffee and water in the AeroPress chamber and whether to use it straight up as it was designed, or to flip it over and make coffee the Inverted way in the AeroPress!

This post is going to focus on the quick and easy way of making coffee that was the original idea – we will follow up on posts with other methods, but not in this one!

The AeroPress was designed for you to be able to make coffee ‘quick and easy’ in literally about 30 seconds once the water is ready.

Simply placing the paper filter in the mesh filter holder and screwing it onto the bottom chamber of the AeroPress is the main preparation. Oh, and placing the bottom chamber over your coffee mug too!

AeroPress was designed to make espresso style coffee – and so placing an AeroPress scoop of coffee grounds (fine ground, but not powdery) puts about 15g of coffee into the device – you can weigh and measure if you’re at home, but if out and about the scoop is a pretty good approximation.

Then simply pour in water (at about 85 degrees celsius) to the number 2 level indicator (as this is a double shot measure).

Next step is to stir for 10 seconds – this mixes the coffee grounds with the water, and ensures that the water is extracting the coffee from the grinds.

Straight away you can put the upper chamber into the lower tube and gently press down for 20 seconds till the plunger gets to the bottom. You may be too keen in your pressure, and this is likely to impede your progress as the device somehow seems to fight against you – a slow, gentle, consistent press seems to give the most effective progress.

That’s it!

Your coffee is now in the cup – in an espresso style measure. You can add water to make an Americano, foamed milk to make a Cappuccino, or use other methods to prepare your drink the way you want it.

The AeroPress is super simple to use and really does produce consistently good results. There are other methods of using the device and we’ll come back to those, but mastering the device for the method it was designed is an essential starting point in our eyes.

Find out more about the AeroPress here.

Here’s some Coffee Basics

simple coffee science

At its simplest, making coffee is just about combining ground coffee and hot water.

People have different preferences and tastes though, so there’s no automatic formula to making a cup that YOU will enjoy – everyone needs to experiment and find what they like best!

There are some simple principles that can help you get more from your coffee, here’s a few of them:

The better the origin the more chance you have that it will taste good – this applies to both the coffee and the water.

Some people do make coffee with boiled spring water as they think it gives the coffee the best chance. That may be going way too far for most people, but it is worth remembering that the water you use will have an impact – using water that has gone through a water filter could be a good idea if you have one.

The coffee origin can be talked about for ever – but there is at least a very simple thing to remember: the fresher the coffee the better. So within the coffee making process it’s ideal to keep the coffee in the form of beans as long as possible before grinding – right up until you actually make the coffee in fact! Air is an enemy of coffee freshness – so when you grind the coffee it’s best not to do it days or hours in advance, but just as the water is boiling.

You can still get great tasting coffee from pre-ground coffee – but don’t keep ground coffee in the cupboard for months on end, and remember this thing about air being coffee’s enemy: keep your coffee in an airtight container and limit its exposure.

The water you use should be off the boil (best at90 to 95 degrees celsius) – certainly not boiling.

What’s next depends upon the coffee making method that you use: in fact the grind fine-ness of your coffee should really be different depending upon the coffee maker that you’re using.

Turkish coffee requires the finest grind (almost like powder), espresso makers very fine too, AeroPress generally uses a reasonably fine grind (like fine sand) as do stovetop makers and syphon devices. Automatic filter makers need something a little coarser but we’re still staying on the fine side with these.

A pourover coffee maker or a Chemex needs a grind on the coarser side (but not too much as the coffee grinds are in contact with any part of the water just briefly, as it flows through).

A Clever Dripper , a Cafetiere/French Press, or Cold Brew require the coarsest grind as the coffee will be seeping in the water for an extended period of time.

Once you’ve made your coffee, don’t leave the coffee standing – dispense it and drink it!! The longer it stands the more bitter it will become as the coffee grinds will have been in contact with the water for too long.

Hopefully those principles are useful in approaching your coffee making – remember to experiment and enjoy finding out the differences that result from changing some of the ways you make your coffee.

Oh, one last point – the ratio of coffee to water will be something that you decide for yourself – but it’s useful to start from the Speciality Coffee Association best brewing practices: 55g of coffee to 1 litre of water (which works out at about 14g for a small mug of 250ml, or about 18g for a large mug of 330ml).

View our speciality coffee selection and coffee making devices at artistrycoffee.co.uk

Science, Theatre, Artistry! Coffee making with the Hario Syphon

Hario Syphon Coffee Maker in use

There’s something of the science lab about making coffee with the Hario Syphon Coffee Maker!

You don’t need to understand the science to enjoy coffee making this way – and it’s not complicated, but it is incredible. Not understanding the science of air pressure, vacuums, and heat effects just actually makes it appear to be magic! And therefore enthralling.

The Hario Coffee Syphon is not based on new ideas at all – in fact the first syphon coffee makers are traced back to origins in the 1800s.

The thrill of seeing the water bubble up to the top chamber of the coffee maker is spellbinding. Then shortly after it will slowly seep back down into the lower chamber as brewed coffee. It really does seem like magic.

The device comes with a small alcohol burner which is the main control over the process. There’s a lower borosilicate glass chamber where you place pre-boiled water, and an upper chamber where the coffee grounds are placed (with a filter held in place by a clever weighting mechanism). The whole thing is held on a stand to hold the coffee maker above the alcohol burner. Can you see why it feels like a science lab way of making coffee?

Hario Technica Coffee Syphon 3
Hario Technica Coffee Syphon 3 available at Artistry Coffee

The water is heated further from below, and (here’s a Mickey Mouse bit of science) the expanding pressure in the lower chamber forces the coffee up through the connecting pipe into the top chamber where the coffee grounds are sitting.

This mixes the hot water with the coffee and begins the brewing process. If you can draw yourself away from being mesmerised by this coffee making device, you can help the effectiveness of the process a little at this point by stirring the water and coffee grounds in the top vessel.

The heat source now needs removing and covering, to extinguish the flame. This starts to reduce the air pressure below ( which has almost become like a vacuum – because the contents that were in the lower chamber are now in the upper chamber).

The reduced pressure below now gives the brewing coffee somewhere to go –  down!

So gradually the contents of the upper chamber will sink into the bottom glass vessel – straining through the filter in the middle section to give a clean, clear brew.

The top section then needs removing, as its work is done – and the stand that the bottom glass vessel is held by becomes the pouring handle to pour out your coffee!

See the Hario Coffee Syphon at Artistry Coffee – we stock the 3-cup version.

Always follow the manufacturer’s instructions, which give full explanation of the device, how to use it and any safety requirements.

The New Twist Press from Barista & Co

Twist Press

This innovative new coffee maker – The Twist Press – is a great product for coffee on the go – it is compact, easy to use, and includes a coffee storage section under the silicone lid.

Twist Press Parts
Twist Press Parts

To use, you place the lower handle on top of a mug add a paper filter, attach the coffee making chamber – then water and coffee grounds and stir. Position the upper plunger handle and allow to brew for a minute.

Then TWIST !

Pull the handles together and let the coffee come through under pressure to the mug below. You should find a clean, strong, black coffee which you can enjoy espresso style or as a base for any coffee.

The device is easy to clean and (top shelf) dishwasher safe.

See the Twist Press online at artistrycoffee.co.uk or at our Duck Farm Court location in Aylesbury, Buckinghamshire.

Twist Press
Twist Press Stacked


Supercharge your AeroPress with the Fellow Prismo

The Fellow Prismo AeroPress attachment

The AeroPress is a well renowned coffee maker which makes reliable good coffee very quickly. As we say it’s #QuickButNotInstant reflecting the fact that it’s far ahead of instant coffee yet doesn’t take much longer to make.

AeroPress
AeroPress coffee maker

The AeroPress is described as making espresso like coffee – recognising that it’s really good but not a pure espresso.

This new attachment device from Fellow products though can supercharge your exisiting or new AeroPress delivering more specific espresso shots.

The Fellow Prismo – attaches to the bottom of the AeroPress instead of the mesh cap. It features a pressure actuated valve which is the main bit of magic! It stays sealed until you press down – this helps facilitate the espresso shot, but also gives you other options for making cold brew or brewing with the immersion method without inverting.

The Fellow Prismo comes with a reusable fine metal filter and has a no drip seal too – giving you more control over generating an espresso shot (or the immersion method).

Press down and the coffee is forced under pressure through the central valve.

We stock genuine Fellow Prismo but do watch out for cheap imitations available by some online retail options – if you don’t see the Fellow logo (the O and bow tie mark underneath) on the product photos, it’s probably not genuine. Also the central valve and surrounding mouldings look a little different.

The genuine Fellow Prismo is available at Artistry Coffee in Duck Farm Court, Aylesbury or online.

The new Artistry Coffee base in Aylesbury

Artistry Coffee shop area with new display shelves at Duck Farm Court

We’re very excited to have painted and taken delivery of our new shelf units and set about stocking them with all our range of handbrew coffee equipment.

It is great not just to have a stock-room from where we have to get our products out one by one when we want or need to look at them or photograph them. Now we have permanent display for all our products so it will be easy to demonstrate, talk-about, showcase and feature the individual products.

It’s amazing how much the handbrew coffee sector had developed even in the time we’ve been operating Artistry Coffee – so there are always more products that we want to stock.

Our location in Duck Farm Court in Aylesbury in Buckinghamshire was once one of the homes of Aylesbury Duck, dating back to the 18th Century. We’re delighted to have a small unit on the balcony area. There are lots of other interesting businesses and shops located here too.

We’d love to see people popping in to top up on specialist coffee beans, coffee filters, or select a new handbrew coffee device – or we’ll handle your online order from here.

Artistry Coffee shop coffee bag partition at Duck Farm Court Aylesbury

We’ve worked hard on prepping the unit – making sure everything is clean and fresh – and setting our stall so to speak. You’ll find the products featured online with ranges of hario, aeropress, kilner, Chemex, and many others – plus a fun range of mugs, the reusable ecoffee bamboo fibre cups and plenty more.

After lots of planning and moving in the last few months – it’s great to be able to have a new home for Artistry Coffee in Aylesbury and we plan to expand our range of stock and upgrade our speciality coffee credentials as part of settling in here.

More soon….

The stunning, innovative Trinity ONE coffee maker is an exquisite piece of design.

Trinity ONE coffee maker

One of our most extravagant favourite products is an incredible coffee maker from a talented designer and coffee fan in Australia. We supported Mark Folker’s Kickstarter campaign to develop the Trinity ONE a couple of years ago and have admired Mark’s commitment and search for quality as he has pursued his idea.

We received a small number of the first batch of this device just a matter of days ago, and are taken aback by the result – it’s a beautiful yet functional design featuring kitchen grade stainless steel and American black walnut heartwood timber.

The Trinity ONE can be used to brew coffee by press, immersion, or drip filter method. The unique design and approach is unlike any product we’ve seen before – and if you’re interested in handbrew coffee making it’s worth looking at our feature page on Trinity ONE to see what it’s all about.

It is genuinely original! Yet the Trinity ONE works with what we know about coffee making to produce an excellent device. It is a large item and that can be a bit of a surprise when you first see it – but this can take centre stage and do its 3 different jobs: drip, press, or immersion.

We’re very impressed with Trinity ONE – it will be an elegant addition to any serious coffee shop or be a stunning home coffee making station.

Trinity ONE
Trinity ONE in press coffee making mode

Which way would be your preferred way to use the amazing AeroPress coffee maker?

AeroPress coffee maker Series 5

The AeroPress is a brilliant coffee maker which can produce consistently good results, with a couple of different options for how you use it.

The classic method is the quickest which is simply..

coffee – water – stir – press.

The AeroPress packaging still says stir for 10 seconds and push for 20 seconds – it really can be that easy to make great coffee. You can watch a video of Artistry’s Sarah demonstrating this method.

Then there’s the inverted method which is a little slower and more intricate, but the favoured method of baristas worldwide.

This involves pouring the ground coffee and the water into an inverted AeroPress, stirring and then letting the coffee brew for a few minutes.

Then adding the filter and mesh cap and quickly turning over to press the coffee through into a mug below.

This allows for lots of experimentation with different grinds on the coffee and different brew timings.

So you can decide if you want a quick well-made coffee that beats instant coffee hands down – or to take more time over the coffee and the experimentation to perfect your own brew technique!

There’s now a Series 5 version of the AeroPress, which has shiny gold lettering and a cloudy brown look to it.

Colours and materials used have changed over the years as the design has been adjusted from the original clear with blue guide marks.

The baby of PourOver makers has a good style

Cafe Stal coffee maker

The Cafe Stal is a lovely little coffee maker and really good value too. It has almost 600ml capacity in the brewing and serving vessel which also features a stainless steel removable pourover filter. The heat resistant glassware is really simple and a delightful compact size. It has an acrylic neck for helping with your serving.

You simply add your ground coffee to the mesh filter which sits in the top section of the pourover vessel. Slowly wet the coffee grounds and let the coffee ‘bloom’ for 30s to 45s, then pour hot water very slowly in spiral or zig-zag motions over the ground coffee for a couple of minutes or so.

The coffee grounds will release their flavour as both aroma while your making the coffee and as the coffee itself which collects in the lower part of the vessel.

Once you’re done, remove the steel mesh, and sit down with a friend to enjoy your coffee – or on your own for a double dose of caffeine! You can later discard the grounds for compost, rinse the steel mesh and the vessel well and it’s ready for use again.

As an introduction to PourOver coffee making this device would serve really well – as it already has a steel mesh filter and is like a tiny version of a Chemex which feels like the granddaddy of pourover makers!

See more about the Café Stal from Rayware here.

Cafe Stal from Rayware
Cafe Stal showing mesh filter and glass chamber