

The AeroPress coffee maker was conceived by the inventor of the Arobie Flying Ring, Alan Alder, as a reliable way to produce coffee – including out in the open.
You simply needed some coffee grounds, hot water in a flask, and your AeroPress.
The result was great, and consistently reliable. Clean and easy to use, and very portable. Not quite an espresso, but something very close.
As the AeroPress was marketed people really took to it, appreciated its cost-effectiveness and the quality of the coffee it produced. It became popular on location, at home, and at work. Then people began to experiment.
The Inverted Method was born, and the ‘quick & easy’ original method of using the AeroPress was joined by a ‘take your time and brew’ method.
The Inverted Method takes the principles of immersion and steeping with coarser ground coffee to result in different flavour profiles. The room for experimentation with different ‘recipies’ was extended (i.e. using varying amounts of coffee grounds, & water, and changing up the timing to see what different flavours could result).
This is possible by turning the AeroPress on its head, literally! Inverting it!!
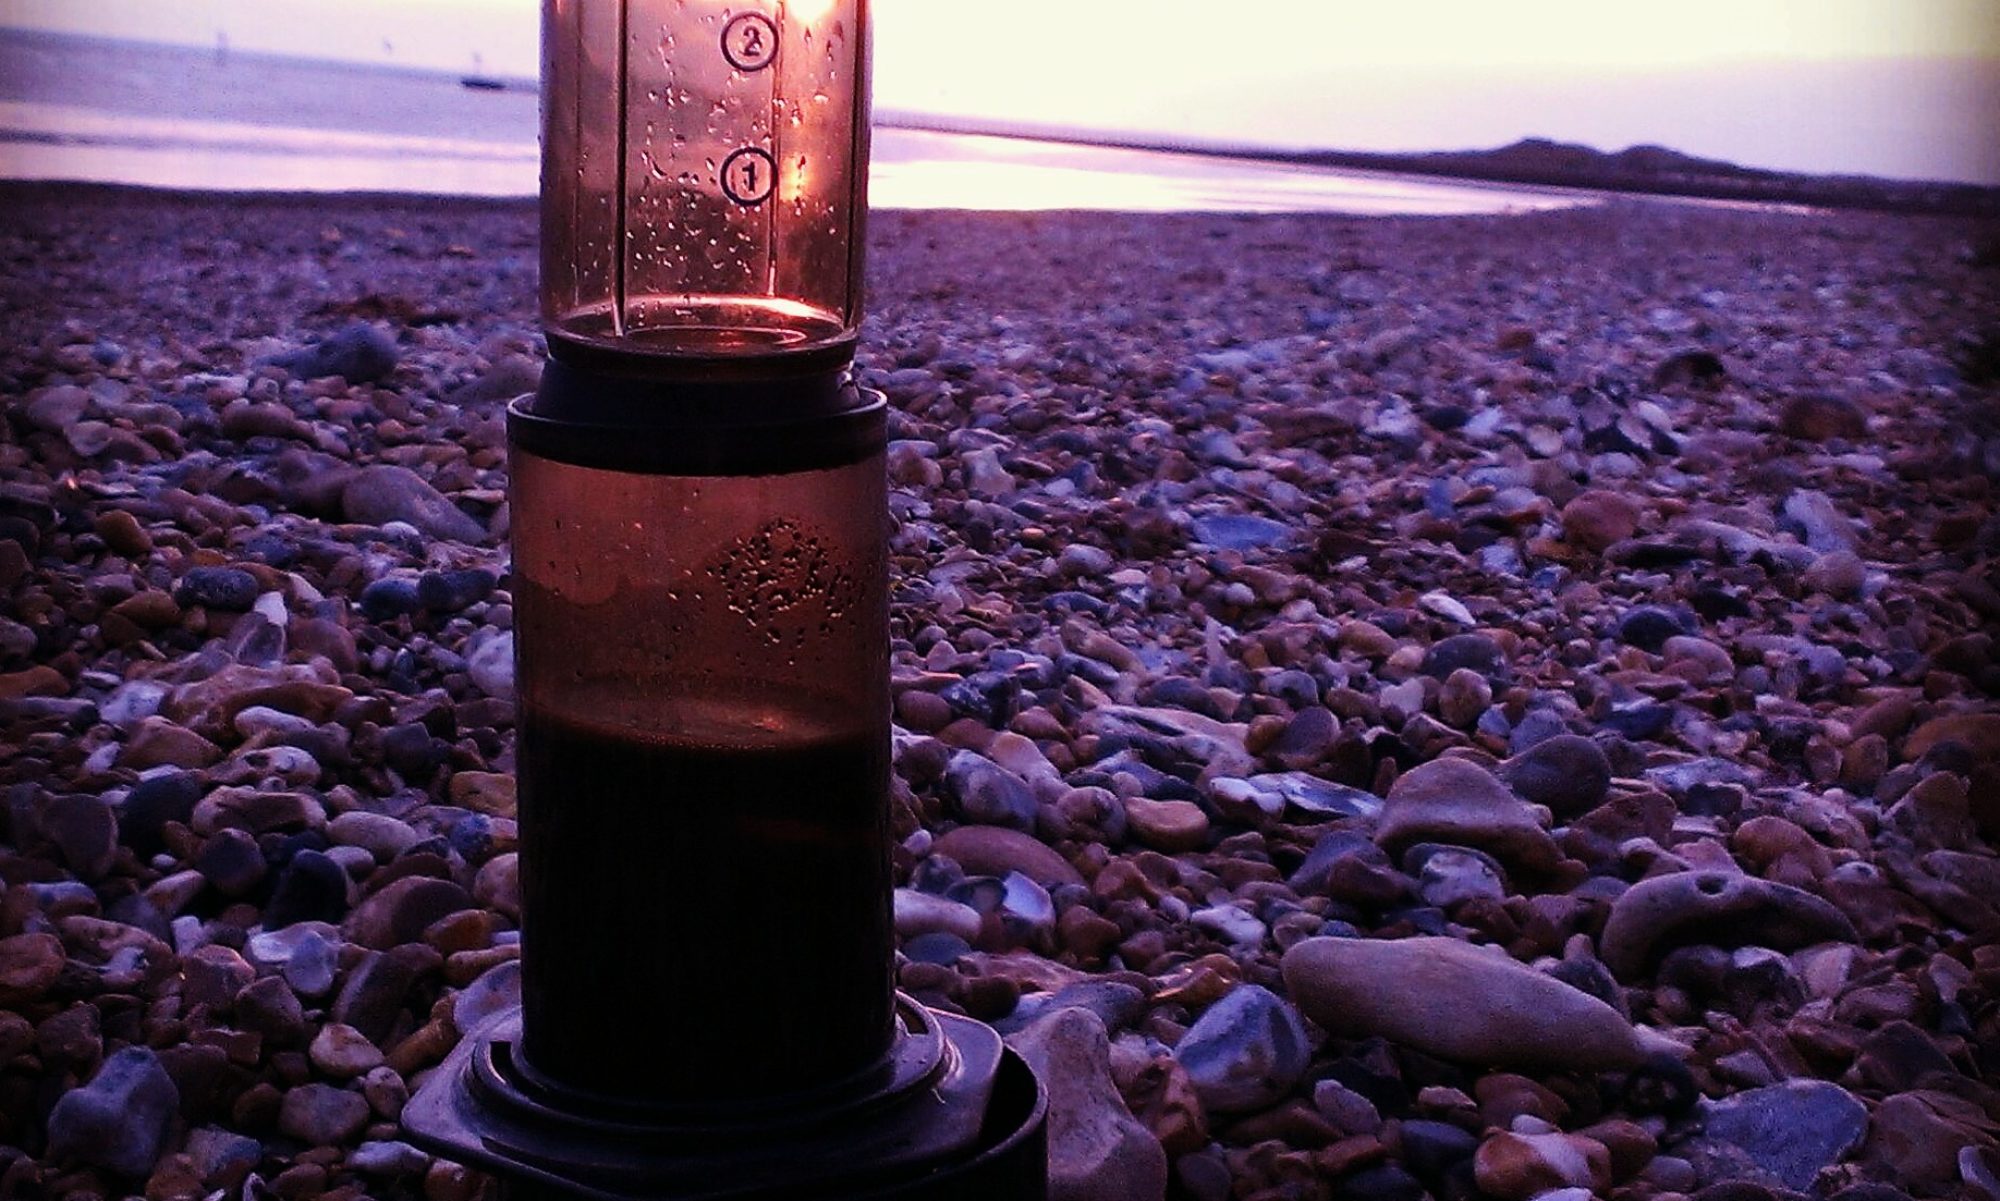
The first thing to do for the Inverted Method is to connect the two chambers (so it’s connected as if you were about to push down on the second one).
Make sure they are firmly connected with a good overlap of the cylinders, then flip them over (invert them). They should now be standing on what is normally the top part of the AeroPress.
You haven’t yet put the filter and mesh cap on – don’t, for the moment.
You should now have the tube standing up, into which you can pour the coffee grounds (coarser perhaps, and starting with c11g before you experiment with your quantities).
Please check safety and stability for the next stage, and only progress if you are confident that you will not spill the hot water, that the tubes will not topple, that they are connected well and will not leak, and that you will not be scalded by the hot water.
So, ensuring stability and safety, pour your desired amount of hot (not boiling) water into the tube with the coffee (probably c 100 to 200ml. It depends on how far into the first chamber the second tube is pushed up to).
Then stir really well, remembering that agitation of the coffee grounds with the water is a key part of coffee making.
Now you can leave the coffee steeping, immersed in the water. Perhaps leave for 2 minutes the first time, but this is something to be experimented with along with the coffee and water proportions.
The next part is a little tricky, but best achieved by slightly damping one of the paper filters so it sort of sticks.
Place the dampened filter into the mesh cap. Then screw the mesh cap firmly into the AeroPress.
With your mug in place, quickly and with care, flip the AeroPress over so it’s in a normal position above the mug.
Now breathe.
You’re ready for the normal AeroPress push. Steadily and slowly push down on the AeroPress so that the coffee pours into the mug below, and leaves you with the puck of coffee grounds in the device.
Unscrew the cap, expel the puck of coffee grounds by placing over a bin and pushing the last couple of centimetres. Rinse and wipe the AeroPress and enjoy your coffee made the Inverted way!
You can now add hot water if you prefer a weaker coffee, or milk of your choice if that’s your preference.
The AeroPress is a great device to experiment with. And whether you’re using it the way it was originally designed, or the Inverted Method, you can experiment with grind variations, coffee and water proportions, and timings to hit on a recipe and method that suits your tastes.
Maybe you’ll decide one day to enter an AeroPress Championship – yes, there really are such things!
You can see our store pages if you’ve not yet got an AeroPress, if you need new filters, or if you’d like to try a metal filter.